So, I have just about the best husband a girl could ask for. Today he took both girls to the zoo in the morning for a picnic and then went to visit his brothers who were camping in the afternoon. That meant that I had the whole house to myself for all day!!! Hip Hip Horay! Any sane mother would choose to have a nice bubble bath, take a nap, maybe read a book or do perusing on Pinterest. Guess what I chose to do with my time???
That's right I refinished a dresser that the neighbours gifted to me on Thursday. I was so excited when they gave it to me. It was a beautiful old solid wood dresser. It had some very nice architecture to it, which makes it so much more fun to paint. Here are some pictures of the before:
I LOVE THE FEET!
I also loved the hardware and decided I did not need to go out and buy new ones.
This applique may be my favourite part about the dresser. I cannot really decide what I love most about the dresser. Lets be honest, probably that it was FREE! :)
When the neighbour gave the dresser to me, I knew right away what I would do with it. It was destined for off season clothing storage in my oldest daughters room. Since this was such a beautiful old piece, I decided it would be fitting to go Shabby Chic. I got out the milk paint once again. This time I planned to keep it simple and white. Using some antiquing wax to bring it to life. Again I used the Miss Mustard Seed Ironstone paint and wax.
Since Hubby and the kiddies were gone, I thought I would enjoy myself. Don't worry it was like 10:30 am when I busted this out. I always recommend pacing yourself when doing a DIY project.
If you have never worked with milk paint before, you can learn all about it at: www.missmustardseedmilkpaint.com
There are some really good video tutorials on this site.
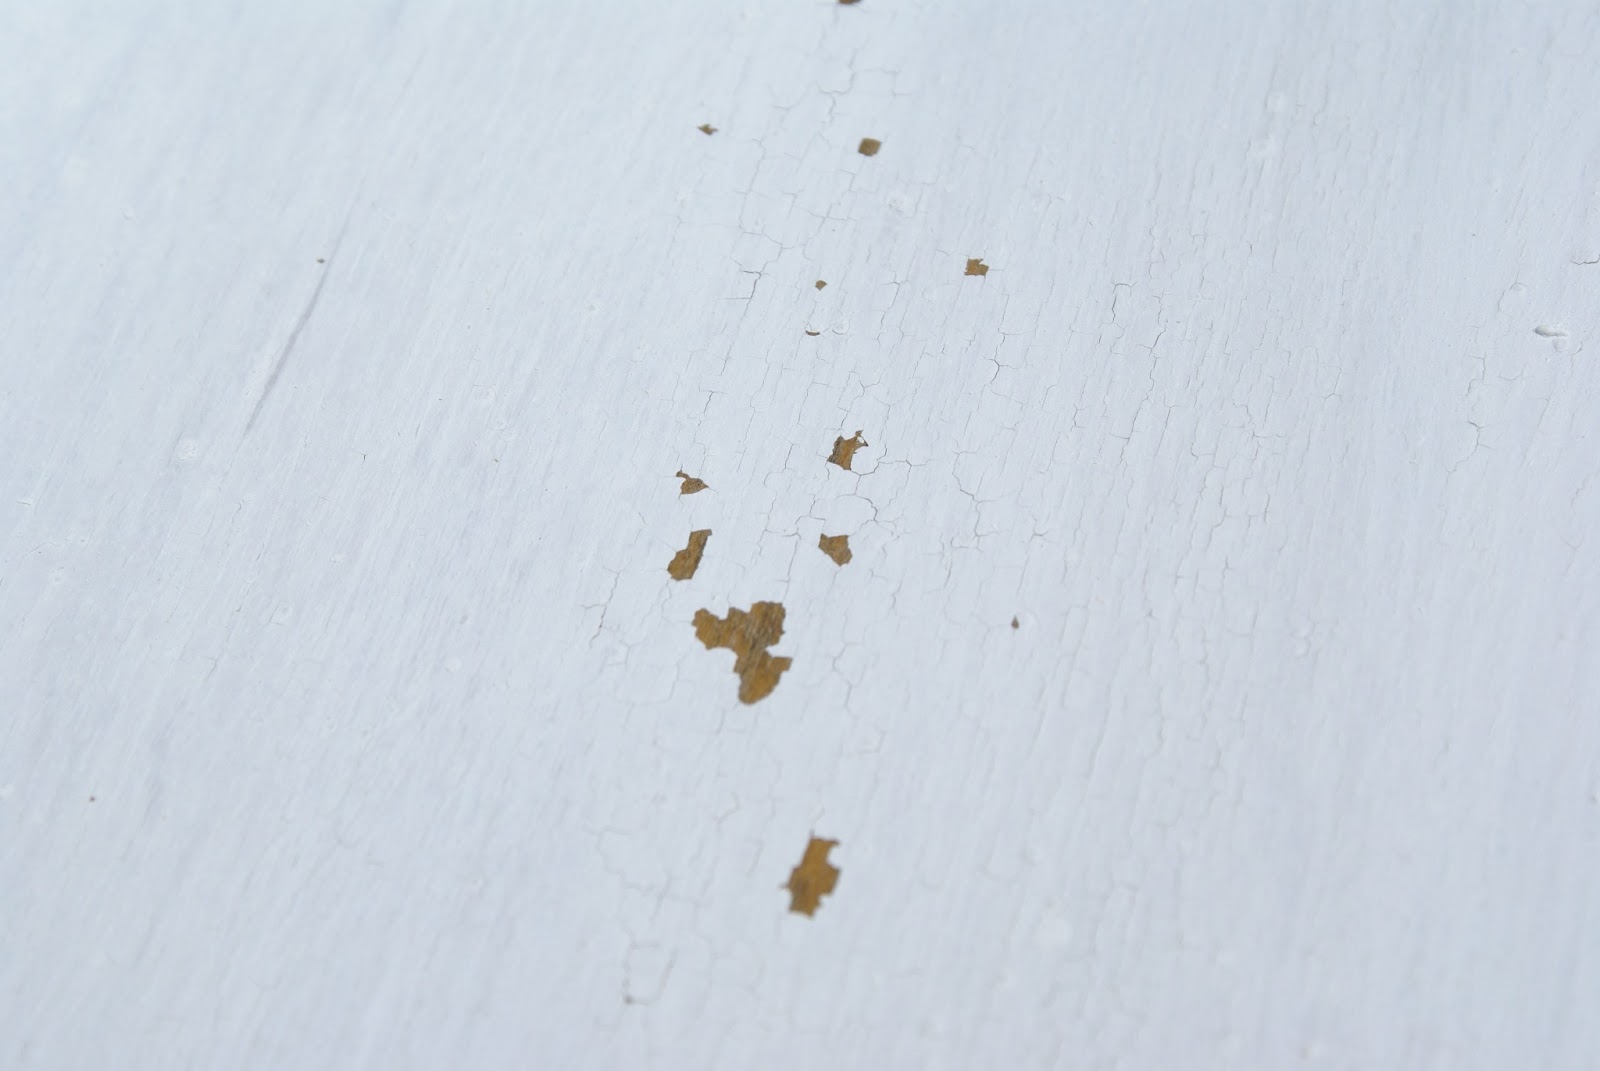
I mostly love it for its old rustic look. It is very chippy and distressed, when used without the bonding agent. It is also all natural. Which means no VOCs to be breathing in. And if you have kids around, you know exactly what is in the paint.
Here is what the first coat looked like:
I did 3 coats until I was happy with the coverage. I then let it sit for 20 minutes and let the paint crack and get 'chippy.'
Once the coat is good and dry, I take a paint scrapper and very lightly move it over the surface of the piece. The paint will begin to flake in areas where it did not bond to the furniture. You can see the paint cracked and ready to flake before beginning this step. I must add that my sister happened to drop by during this part and she did the flaking. She was adamant that I give her the credit for lightly rubbing the paint scrapper over the dresser. Can you tell she is the older sister? Wouldn't want to miss an opportunity for a little bit of attention. WINK! Love you big sister.
The next step is the most labour intensive. I laugh when I say this because it is actually pretty easy. It is just using a little elbow grease. When I first started using furniture wax I was deathly afraid of getting too much on. I had read some blogs where people had caked their piece of furniture with wax and had to strip it and start over. Have no fear, if I can do it, anyone can do it.
I applied a layer of Miss Mustard Seed Clear wax with a rag. It is really soft and buttery feeling. Apply a thin coat, so that you cannot see streaks, but it leaves a luster. Make sure to spread on evenly. Meaning, no unsightly globs of wax. Choose one spot at a time and cover it. As the wax dries very quickly (3-5) minutes. You should be using enough pressure to work the wax into the exposed wood. This will help it seal properly. After 3-5 minutes buff the wax with a clean cloth.
After applying one coat of the clear wax, I applied a coat of the antiquing wax. I chose to use a starburst effect on this dresser. I did not cover it with antique wax. Instead, I kept the darker wax to the outside edges. This just gives it a little more dimension. Use MMS antique wax sparingly as it does give quite a bit of colour and you will need to work it a while to ensure no streaks.
I did get the dark wax a little heavy in some spots. When this happens, just take some clear wax and work it into the areas that you would like to soften or lighten. Again using a little elbow grease to work up the wax will help. Furniture wax gives a real velvety look.
I did find out at the store when I picked up my wax today, that it takes approximately 30 days for the wax to completely cure. So act gingerly towards your piece of furniture. I have a piece that someone set a glass on just a week after waxing and the wax lifted. I will post my fix of it later. However, I did read a blog once, that said she left a plant on her waxed furniture and overwatered it, not noticing for days. It wiped right up and did not create an issue. So, sorry I do not remember where I read this to reference it. Nevertheless, it sounds like it is quite durable when cured. I have a piece in my daughters room that gets bottles set on it all the time. They are often wet fromt the bottle warmer and we have never had an issue. It is sealed with Minwax furniture wax though.
Here you are able to see the chippy edges of the drawers. The drawers did not chip a whole lot. So I just sanded the edges a little.
You can see on the side of the dresser how I kept the antique wax towards the edges.
I must say that I am in love with it. I knew I was going to like it. But I am so giddy about it! I am afraid that if I show the neighbour they might want it back. My daughter is so excited to organize the drawers. I will line them tomorrow and allow her to put a few treasures in amongst the off season clothes.
I was also able to paint my coffee table that I am transforming into an ottoman before my Motherly duties commenced. Thank you so much hubby for a day to myself. It was much needed and I feel rejuvenated even though I did not take a nap.

 Anyways, I have decided that I want to get more comfortable with using milk paint. I have never used the bonding agent before and wanted to see if I liked the coverage and sandability for distressing. I learned a few things while doing this piece. But my lack of experience made for a really neat crackled look to the piece.
 I was also very impressed with how easy it was to distress this piece. I used fine grit sandpaper and went over all the edges by hand. I did not want to take away from the details of this piece by heavily distressing it. So, I kept it simple. I then sealed it with Miss Mustard Seed Wax. The wax really deepens the colour and richens up the look of the piece. I hope you enjoy the pictures and are inspired to try a piece of your own.