Labels

Showing posts with label DIY Home. Show all posts

Thursday, October 10, 2013

Milk Painted Dresser (Shutter Grey)


Here is my newest piece!  I need to first and foremost thank my hubby for feeding my addiction by finding this dresser on the side of the road for me.  He saw it while biking home, came home right away and went with me to pick it up.  Love you Dale!!! My favourite is the beautiful moulding around the two smaller drawers.  I also love the legs and lovely scalloped edge on the bottom.

Anyways, I have decided that I want to get more comfortable with using milk paint.  I have never used the bonding agent  before and wanted to see if I liked the coverage and sandability for distressing.  I learned a few things while doing this piece.  But my lack of experience made for a really neat crackled look to the piece.

I started off with two coats of Miss Mustard Seed Iron Stone Milk Paint.  I was not happy with the coverage and needed another coat but had run out of Iron Stone.  The lack of coverage was due to the fact that my paint was not mixed fully.  There was a bunch in the bottom of the cup.  This is when Dale ran to
Value Village for me in search of an old blender.  He came home with an $8 hand blender.

This worked a charm with the MMS Shutter Grey.  I would always recommend using a blender when mixing milk paint.  I watched the tutorials on:

http://www.missmustardseedsmilkpaint.com/

where Miss Mustard Seed recommended mixing by hand so that you can feel the consistency of the paint. I have mixed by hand several times now and mixed by blender once.  Blender is definitely the way to go.

I was also very impressed with how easy it was to distress this piece.  I used fine grit sandpaper and went over all the edges by hand.  I did not want to take away from the details of this piece by heavily distressing it.  So, I kept it simple.  I then sealed it with Miss Mustard Seed Wax.  The wax really deepens the colour and richens up the look of the piece.  I hope you enjoy the pictures and are inspired to try a piece of your own.


Saturday, September 7, 2013

Waxed Paint Cedar Chest

This is my $30 Cedar Chest I found on kijiji.  It is a little dated with the hardware and 70's legs.  When I went to look at this piece I had no idea where it was going to go.  But I felt as though I could not give up a $30 Cedar Chest.  As soon as I saw it I knew I wanted to put it at the foot of my bed. 

I am looking forward to finally decorating my bedroom.  We have been in this house for 5 years.  Two children later, and still the bedroom has nothing on the wall (except a tv).  I will be painting my bedroom set which is an old set of my parents from when they got married.  This cedar chest will be perfect for the end of the bed.


I love the two sets of drawers down either side.  It will be perfect for storage of small games.  This will free up some room in the top of our closet.


The top of the chest also locks.  It used a key at one time.  but now turns by hand.  


 I replaced the hideous legs that came with it, with fineals from a fencepost.  They cost me $3 per leg instead of a whopping $17 per leg at the hardware store.  I found them at the liquidation store.  And of coures trusty old Poppy installed them for me.


I then got him to stain them.  Then when I distress them dark wood will show through instead of raw wood.


He also touched up the edges where some wear and tear were showing through.


Here it is doors removed and ready to paint!

I decided to try a waxed paint technique as taught by Annie Sloan.  I got the inspiration from this post:


I did not take pictures of the steps following.  I am sorry!!! I am still getting used to documenting for the blog.  But I painted the entire chest with two coats of my homemade chalk paint in brushwood by Glidden.  I then waxed the piece small bits at a time to prevent the wax from drying before white washing.  I was not real scientific with my wash.  But I used about 2/3 cup of paint and 1 tablespoon of water.  The paint in the wash was homemade chalk paint in Beautitone Goat Cheese.  You want your wash to be thin. 

I decided to start at the top of my piece and then move downward with the wash being carful not to slop on areas I was not working with.  I used a cloth to apply the wax then brushed on the wash.  The wash beaded against the wax.  I rubbed it off with an old cotton t-shirt.  I made sure to do it in long even strokes starting at one end and rubbing right off the other side to prevent uneven lines.  Once the white wash was dry I sealed it with an all over coat of Miss Mustard Seed Dark Wax.

I love the way it looks!  It reminds me of old barn boards.  This is a picture before I added the last coat of dark wax.


Here is the completed project:


Sunday, June 9, 2013

Chalk Painted Television


I am so excited to show you this next piece.  I found it in the garbage and fell in love with the beautiful shape of the feet and top.  


 It turns out that this was an old television with the insides taken out.  When I picked it up on the side of the road it had wood panelling sliding doors and a piece of panelling in the back.  It had already been repurposed for storage.  I loved the shape and had my dad take the panelling out for me and put in a shelf and some bead board on the back.  He also added a rope detail to the front of the shelf.


I used my homemade chalk paint to paint this shelf.  I then distressed it and added two coats of wax.  This is what it looks like in my living room. I LOVE, LOVE, LOVE it!!! 


Saturday, May 25, 2013

Making the Most of Your Outdoor Space

Whether you are in an apartment or a house, have a large lot or small, there are many things you can do to make your outdoor space cozy and inving.  It is important to make it an extension of your home.  Don't just look at it as outside, instead bring a splash of your tastes to your outdoor space.  To me, it is important for the space to be semi private.  You probably don't want people staring at you while you sip your morning coffee, whether dressed or not.  Having a comfy place to sit and a table for your tea is imperative.  Other than that you can have fun adding accents to the space that reflect your style.

Crystal wanted to do something with her outdoor space this week.  She lives in a triplex and has a small balcony off her 2nd floor apartment.  She wanted to add some privacy and make it an inviting space to enjoy some drinks with a friend.  Since her last apartment had a pigeon infestation on the balcony, she was very excited about this space.  She wanted to hang some sheers that she picked up at JYSK for $5 a pannel to soften the area.

I suggested Crystal needed some privacy from the next apartment over, as they are always out in the summer and she would always feel watched.  Crystal had told me about a fabric baby gate she saw on pinterest a couple weeks ago.  I suggested she take that idea and make a pannel for the end of her balcony and it would provide some privacy.  She had a shower curtain she bought that did not work with her bathroom decor.  I suggested that would be cheaper to use than going and buying fabric.  So this is what we did:


We measured the outdoor space and added a 1" seam allowance on the unfinished edge of the shower curtain.  

We cut it to size, ironed the hem and finished the one unfinished edge.  We also folded over the top that has the holes in it for the shower rings and hemmed it.


We then took 1" pieces of 1/2" elastic and attached loops around the outside of the fabric.  Attaching them with a double zig zag stitch to allow for stretch.  We placed the pieces of elastic where we knew we would be able to screw a cup hook into the balcony. (Crystal's balcony is wood)


We drilled small holes and then screwed in the cup hooks.  We attached the loops and voila.  We now have a privacy wall which reflects Crystal's style.  

We then attached the sheers along the front of the balcony. Attaching them with cup hooks, proved not effective, as the sheers kept blowing off the hooks.  We opted for a staple gun so that Crystal did not come out one day and find the sheers missing.  


We tied the sheers  and added a flower for an extra "romantical" touch.  Crystal attached a cup hook to the railing and attached the sheer with an elastic.  The sheer can then be let down if she wants for some added privacy.  We attached 3 pannels to the front of the balcony.  It was just hard to get them all in the shot from the balcony.  So here is what it looks like from the street.


Here are some of the personal touches Crystal added to make her balcony inviting and homey:


This transformation cost all of $35.  I hope this inspires you to get creative with your outdoor spaces.  I must admit Crystal has inspired me to do something with my patio as it has not been touched since we moved in (5 years ago).  It will be nice to finally make it my own with a few personal touches. 


Monday, May 20, 2013

Coffee Bar

It has been a busy weekend!  I refinished a dresser, painted my DIY ottoman, had family for a bbq and an inaugural fire in my Mothers Day fire pit.  So, I decided to post a little project I took on about a month ago.  It was inspired by my sister.

It all began many months ago when my mother and sister got into tablescaping.  This is the art of setting your table to look beautiful with different plates and centre pieces.  It looks amazing!  My mom and sister have been wanting me to get into it too.  But I told them, I can barely get the dirty dishes off the table to wash them, let alone setting it with beautiful items daily.  I blame this on my wonderful daughters who keep me so busy I can barely shower and put on makeup let alone set my table.  However, my sister and mom convinced me that I could use my artistic abilities to set up a coffee bar.  That was manageable because it would be tucked out of the way and the girls would not be able to touch it.

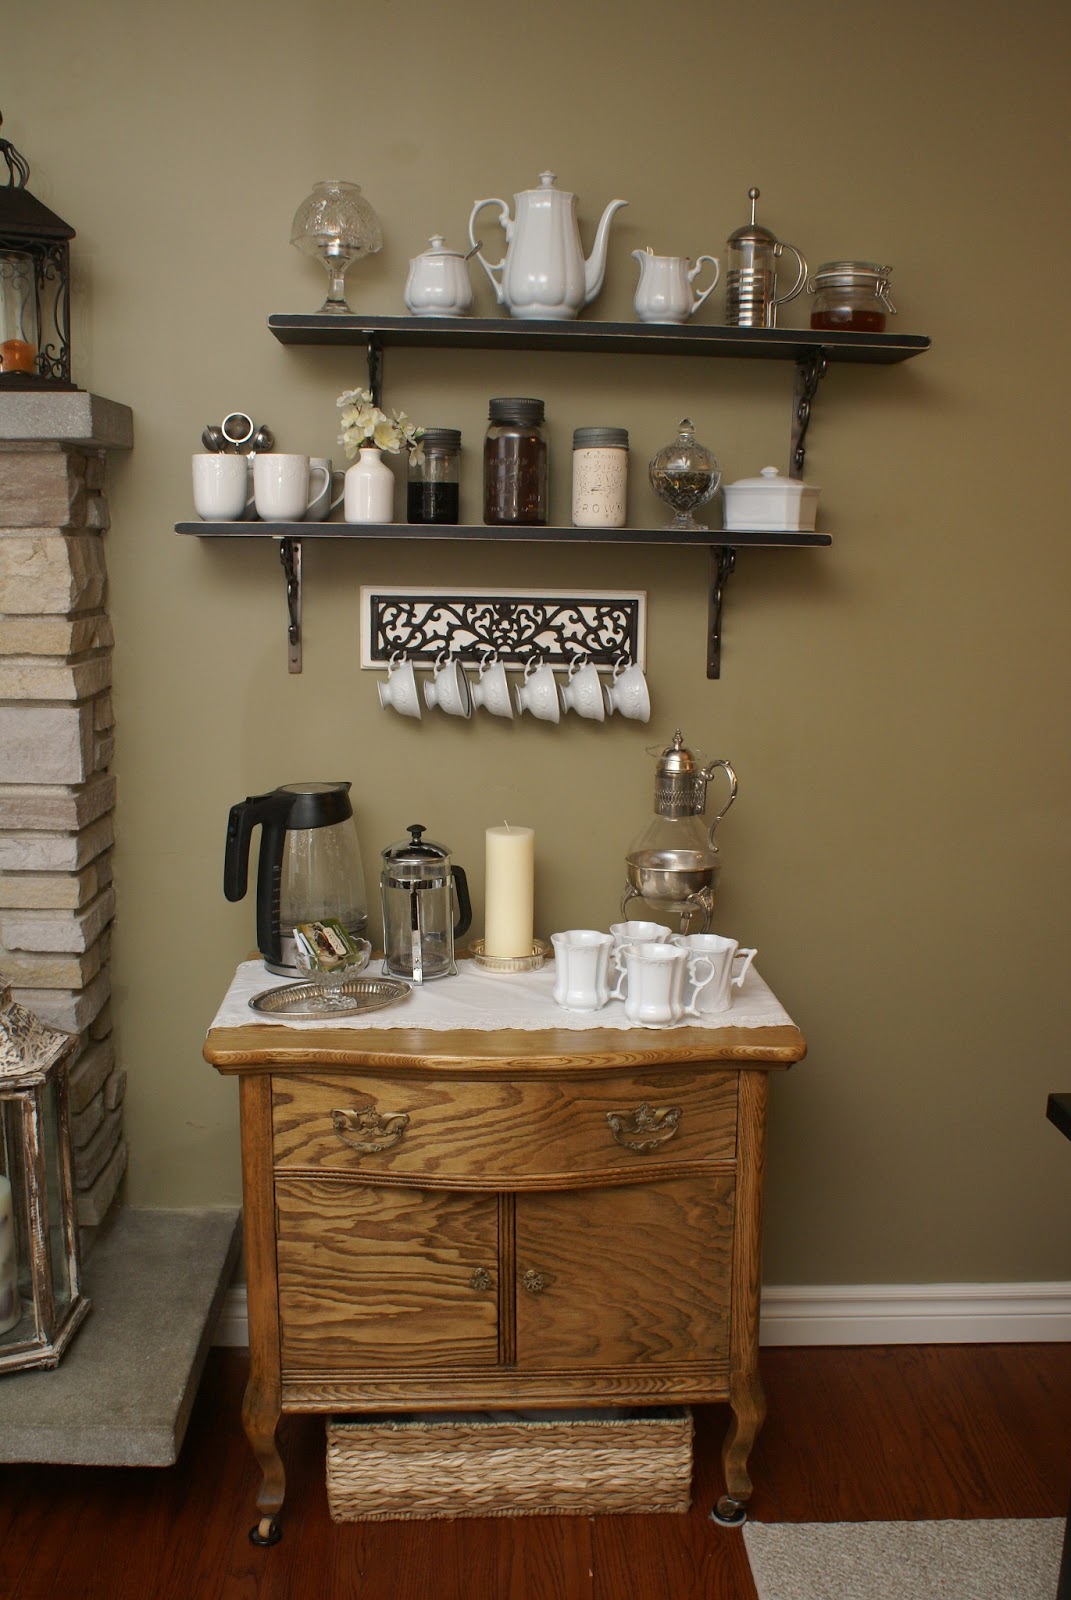
I had a little piece of furniture that sits between my fireplace and dining table.  I have used it to store napkins, extra wine glasses, carafes and other odds and ends.  The problem was, I never used these items.  My sister had been bugging me to set up a coffee bar just like hers at home.  So finally I decided to do it.  Here it is:


I got the brackets from Home Hardware and used pieces of pine for the shelves.  I painted the shelves with black Chalk Paint and distressed them.  I then waxed them to protect them.  I used homemade chalk paint.  I used a recipe as adapted from several blogs found on pinterest:

1 Part Plaster of Paris
3 Parts Latex Paint (I use Flat)
Just enough boiling water to dissolve the Plaster of Paris

Some recipes I found online suggested using 1 part water along with 1 part Plaster of Paris and 3 parts paint.  I found that the paint was a little thin when using this much water.  Therefore, I add just enough water to the Plaster of Paris to dissolve it.  Then I add that mixture to the paint.  My very first project I did not dissolve the Plaster of Paris in Water and it created lumps.  So this step is very important.

The reason I use chalk paint is because it requires no priming, covers fabulously and distresses very easily.  Chalk paint can be very expensive, and since I am thrifty, I choose to make my own.  

I also used chalk paint to paint the antique jar on the shelf.  It sticks very well to all surfaces.  I did not prime the jar or seal it with anything.  It just stuck.  The painted jar hides the messy look of my tea bags inside the jar.  I then distressed it with some fine grit sandpaper.  This is how it turned out:


My mom contributed many pieces to my shelves.  Since she is into tablescaping, she had a lot of odds and ends around.  I even convinced her to give me the plaque that houses my teacups.  She did not want to part with it.  But she did becuase she is the best mom ever!  She also found me the square porcelain box that houses a variety of tea from Goodwill for $1.  And the little jug that holds the flowers was also $1 a Goodwill.  I chose to keep my theme simple with lots of white and cream.  there is a hint of silver throughout and some glass items.

The best part of this is that my tea kettle is no longer on the counter and all of my tea and coffee are out of the cupboards.  I store all my extra mugs underneath in the small dresser.

I now have a little retreat in my living room that I use several times a day.  I look forward to the day when the girls are just a little bit older and I will be able to drink a cup of tea while it is still hot.  Every time I use it I smile.  I hope this inspires you to take time out of your busy day to create a special place for you to make a cup of tea or coffee and count your blessings.  

Saturday, May 18, 2013

Milk Painted Dresser Tutorial

So, I have just about the best husband a girl could ask for.  Today he took both girls to the zoo in the morning for a picnic and then went to visit his brothers who were camping in the afternoon.  That meant that I had the whole house to myself for all day!!! Hip Hip Horay!  Any sane mother would choose to have a nice bubble bath, take a nap, maybe read a book or do perusing on Pinterest.  Guess what I chose to do with my time???

That's right I refinished a dresser that the neighbours gifted to me on Thursday.  I was so excited when they gave it to me.  It was a beautiful old solid wood dresser.  It had some very nice architecture to it, which makes it so much more fun to paint. Here are some pictures of the before:


 I LOVE THE FEET!


I also loved the hardware and decided I did not need to go out and buy new ones.


This applique may be my favourite part about the dresser.  I cannot really decide what I love most about the dresser.  Lets be honest, probably that it was FREE!  :) 

When the neighbour gave the dresser to me, I knew right away what I would do with it.  It was destined for off season clothing storage in my oldest daughters room.  Since this was such a beautiful old piece, I decided it would be fitting to go Shabby Chic.  I got out the milk paint once again.  This time I planned to keep it simple and white.  Using some antiquing wax to bring it to life.  Again I used the Miss Mustard Seed Ironstone paint and wax.


 Since Hubby and the kiddies were gone, I thought I would enjoy myself.  Don't worry it was like 10:30 am when I busted this out.  I always recommend pacing yourself when doing a DIY project.

If you have never worked with milk paint before, you can learn all about it at: www.missmustardseedmilkpaint.com
There are some really good video tutorials on this site.

I mostly love it for its old rustic look.  It is very chippy and distressed, when used without the bonding agent.  It is also all natural.  Which means no VOCs to be breathing in.  And if you have kids around, you know exactly what is in the paint.

Here is what the first coat looked like:


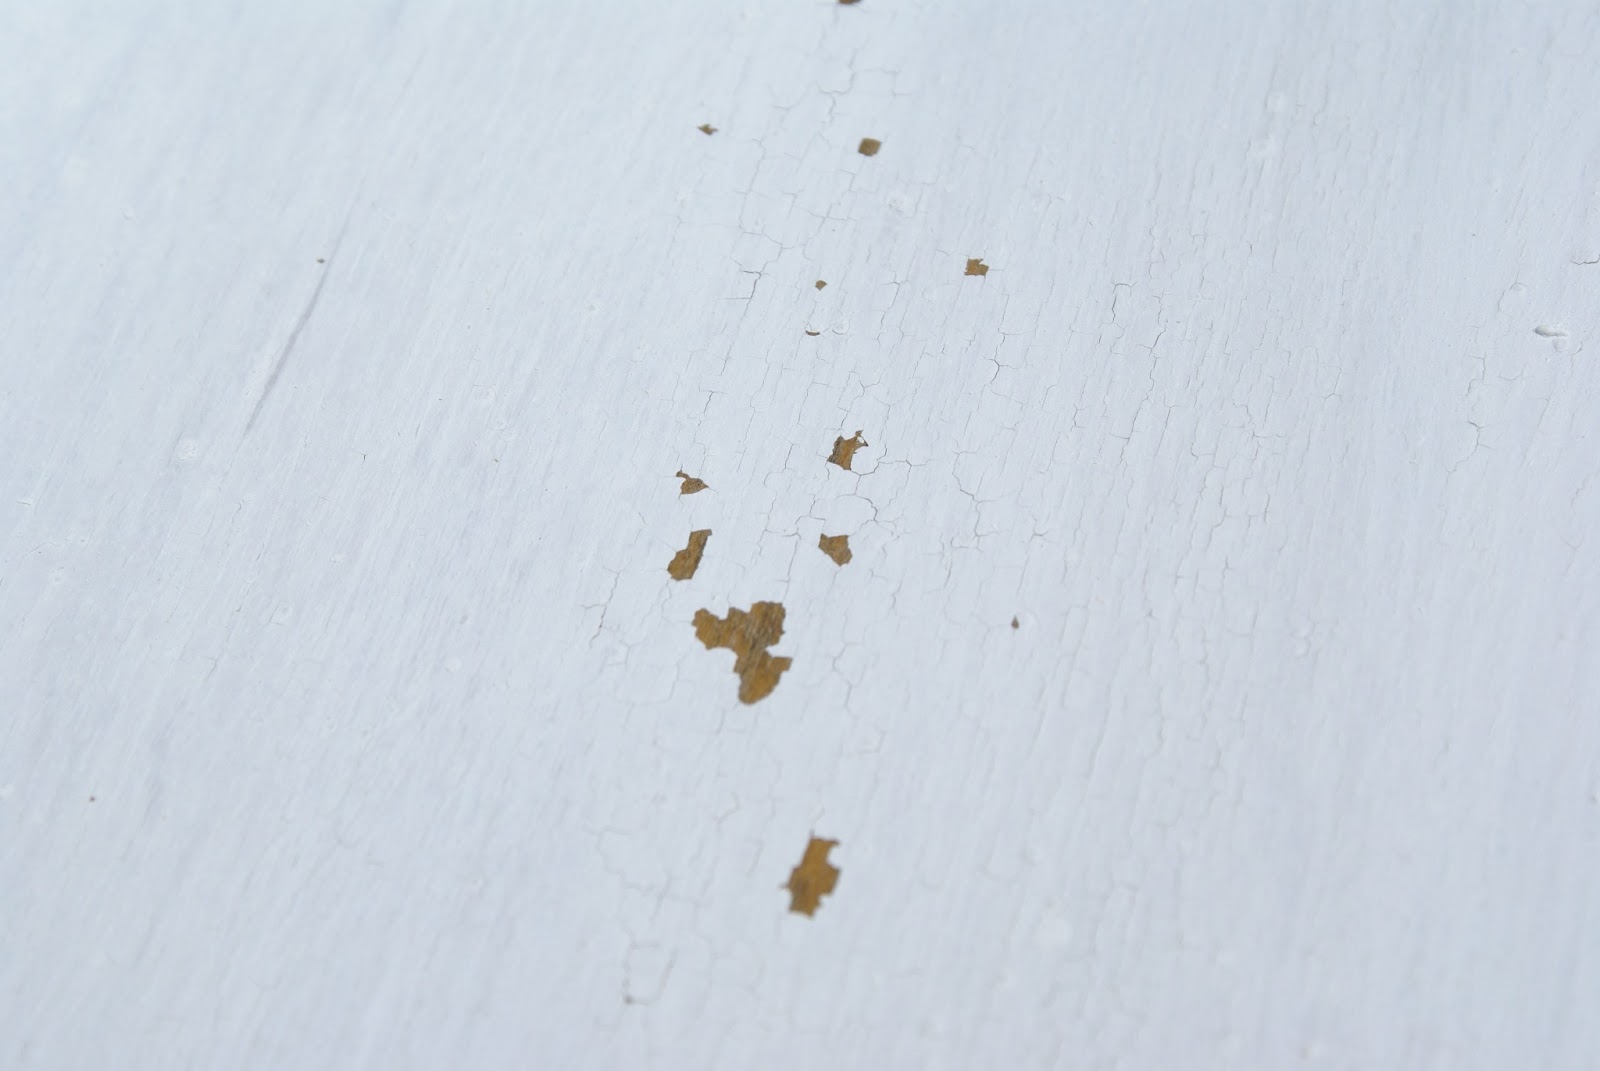
I did 3 coats until I was happy with the coverage.  I then let it sit for 20 minutes and let the paint crack and get 'chippy.'


Once the coat is good and dry, I take a paint scrapper and very lightly move it over the surface of the piece.  The paint will begin to flake in areas where it did not bond to the furniture.  You can see the paint cracked and ready to flake before beginning this step.  I must add that my sister happened to drop by during this part and she did the flaking.  She was adamant that I give her the credit for lightly rubbing the paint scrapper over the dresser.  Can you tell she is the older sister?  Wouldn't want to miss an opportunity for a little bit of attention.  WINK!  Love you big sister.


The next step is the most labour intensive.  I laugh when I say this because it is actually pretty easy.  It is just using a little elbow grease. When I first started using furniture wax I was deathly afraid of getting too much on.  I had read some blogs where people had caked their piece of furniture with wax and had to strip it and start over.  Have no fear, if I can do it, anyone can do it.  

I applied a layer of Miss Mustard Seed Clear wax with a rag. It is really soft and buttery feeling.  Apply a thin coat, so that you cannot see streaks, but it leaves a luster.  Make sure to spread on evenly.  Meaning, no unsightly globs of wax.  Choose one spot at a time and cover it.  As the wax dries very quickly (3-5) minutes.  You should be using enough pressure to work the wax into the exposed wood.  This will help it seal properly.  After 3-5 minutes buff the wax with a clean cloth.


 After applying one coat of the clear wax, I applied a coat of the antiquing wax.  I chose to use a starburst effect on this dresser.  I did not cover it with antique wax.  Instead, I kept the darker wax to the outside edges.  This just gives it a little more dimension.  Use MMS antique wax sparingly as it does give quite a bit of colour and you will need to work it a while to ensure no streaks.


I did get the dark wax a little heavy in some spots.  When this happens, just take some clear wax and work it into the areas that you would like to soften or lighten.  Again using a little elbow grease to work up the wax will help.  Furniture wax gives a real velvety look.

I did find out at the store when I picked up my wax today, that it takes approximately 30 days for the wax to completely cure.  So act gingerly towards your piece of furniture.  I have a piece that someone set a glass on just a week after waxing and the wax lifted.  I will post my fix of it later.  However, I did read a blog once, that said she left a plant on her waxed furniture and overwatered it, not noticing for days.  It wiped right up and did not create an issue.  So, sorry I do not remember where I read this to reference it.  Nevertheless, it sounds like it is quite durable when cured.  I have a piece in my daughters room that gets bottles set on it all the time.  They are often wet fromt the bottle warmer and we have never had an issue.  It is sealed with Minwax furniture wax though.


Here you are able to see the chippy edges of the drawers.  The drawers did not chip a whole lot.  So I just sanded the edges a little.  


You can see on the side of the dresser how I kept the antique wax towards the edges.


I must say that I am in love with it.  I knew I was going to like it. But I am so giddy about it!  I am afraid that if I show the neighbour they might want it back.  My daughter is so excited to organize the drawers.  I will line them tomorrow and allow her to put a few treasures in amongst the off season clothes.

I was also able to paint my coffee table that I am transforming into an ottoman before my Motherly duties commenced.  Thank you so much hubby for a day to myself.  It was much needed and I feel rejuvenated even though I did not take a nap.